Archive | Teaching Tips RSS feed for this section

Meaningful Language Development – Draw What You Hear!

A colleague recently asked me for a few ideas to pass on to a fellow teacher for supporting the language development of students in her classroom.  This got me thinking that the ideas I passed on may be worthy of passing on to others.  The teachers in our school work with a high number of second language learners in mainstream classrooms.  This means that content and language are taught through scaffolded instruction provided in English only.  As an Expeditionary Learning school we are able to integrate our content throughout the day in meaningful ways and connect what we teach to real world issues.  This to me is the most important and impactful way of ensuring the success for second language learners.

In addition to this general philosophy of education however, there are many concrete things you can do during your day to further support not only the language growth and development of your second language learners, but of all your students.  Throughout this school year I’ll share different ideas that have worked for me and my second language kiddos.  Let’s get started!

Language and Literature

I love finding creative ways to use books in supporting language development.  One idea I like is called “Draw What You Hear.”  This activity is appropriate for primary aged or beginning level language students and focuses on listening comprehension, a language skill that is often overlooked.  It could easily be adapted for older grades or more advanced language students by choosing a different book or you could write your own text connected to the content you’re studying or an interesting topic!  This one if especially fun during Halloween.

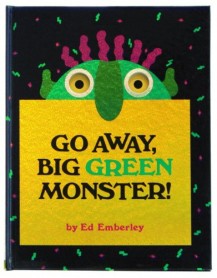
Text:  “Go Away Big Green Monster” by Ed Emberley


Materials:  Blank white paper and markers or crayons

Lesson Overview:
Start by previewing vocabulary in the text that may be new language for students.  Try keeping this strategy in mind for all texts you read with students.

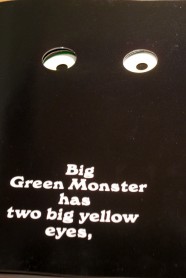
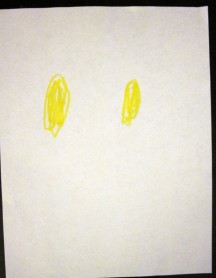
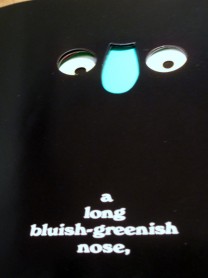
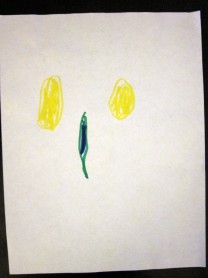
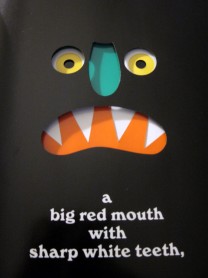
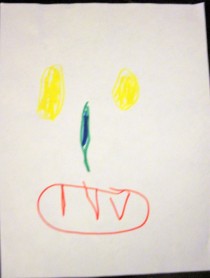
Make it very clear to students that their job is to listen carefully to the descriptive language being used in the story so that they will be successful in making their Big Green Monster.  Now you are ready to read the story out loud to students, but don’t show them the pictures!  As you read each page, they will use the language they hear and comprehend to create their monster.  Yes, it is perfectly acceptable (and should be encouraged!) for students to clarify understanding along the way by asking questions.  This is an important skill we want them to develop.  Below is the sequence of pictures you may see a student create.


When you are done with the story, you can read students the book and have fun in discovering how close their picture came to matching the one in the book!

I would love to hear any variations you may have thought of for this lesson or other creative ways you have used literature to support listening comprehension.  Also, if you have requests for other topics related to working with second language learners that you would like me to write about please let me know.

Best,
Kristin

Lesson Planning and Creating a Teacher Plan Book

Lesson planning.  Every teacher’s got to do it.  Not only do we have to do it, but it’s important that we do it well.  Well crafted lesson plans create a direction and a vision for your day.  They help you feel less stressed and more confident.  They’re there for you to grab onto when your classroom is buzzing with activity and you can’t remember what you were going to do next!  Don’t get me wrong, as teachers we should always be willing to step away from our lesson plans and steer our instruction in a different direction when our planned vision takes a turn in a different direction or our students show us they are in need of something else or something more.  However, thoughtful lesson plans set the tone for the day.

Lesson planning is a very individual process, taking on a number of different shapes and forms.  In this post, I’ll share a few of my own ideas and resources for creating daily and weekly lesson plans as well as how to organize them.

Lesson Planning Styles

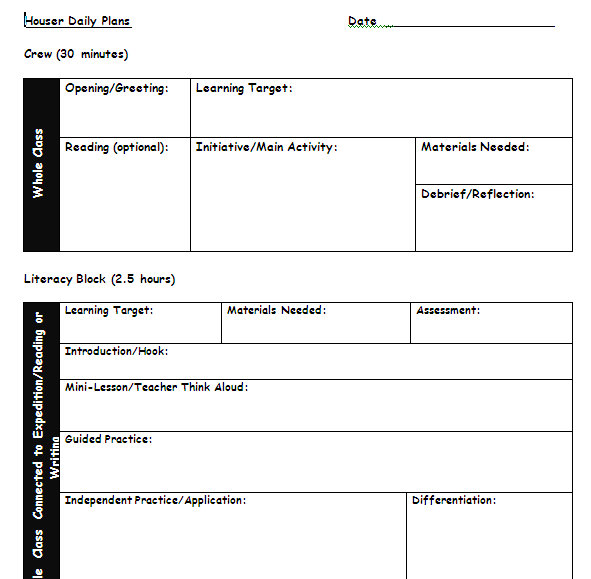
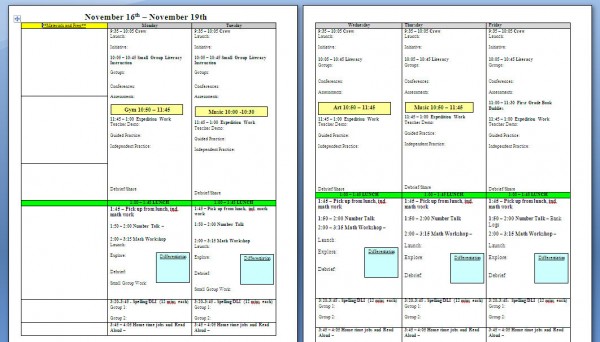
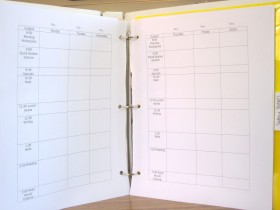
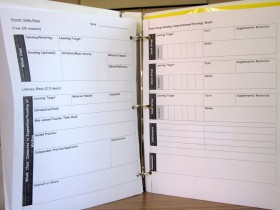
Before my first year of teaching began I drove myself to the local teacher supply store and bought myself a shiny new teacher plan book with pencils and lined paper decorating the front. I had visions of myself sitting at my desk with my plan book, neatly writing in my lessons for the day and week. Well my vision didn’t manifest itself as I thought. I quickly found that the traditional teacher plan book was not going to work for me. There were too many details I wished to include in my plans that just wouldn’t fit in the tiny spaces provided. I also wanted to adjust the one size fits all boxes to fit the needs of my schedule. I wouldn’t necessarily turn and throw your teacher plan book out of the window however.  They make perfect sense when you want to jot out an outline of your week to quickly refer to. Although like I did, you may come to desire the need for more freedom and flexibility with your plans. If so, below are a couple of daily lesson plan templates I created to better fit my needs.

Download this daily plan template (.doc)

Download this weekly lesson plan template (.doc) – adapted from Beth Newingham

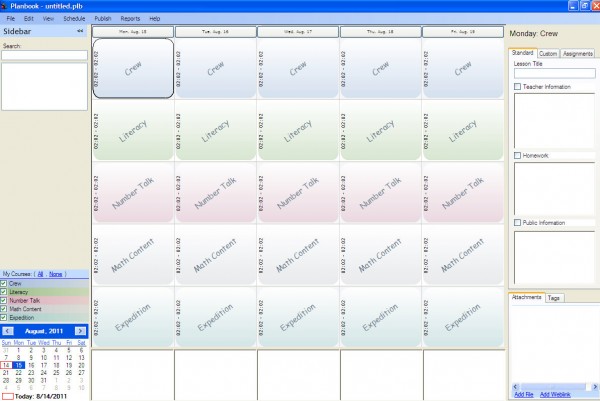
While some of us may prefer to use paper and pencil to plan, others may be anxious to check out ways to use technology.  I was one of those anxious teachers last year and so I tried out  Planbook by Hellman Software.  In the beginning, I spent much more time than I would have liked just figuring out how to best use this program rather than actual planning.  Once I figured it out though, I found there to be many benefits.  One being that after you create your plans you can easily print them out to have for easier reference.  I also liked how I could easily switch from a weekly to a daily view.  While I enjoyed this style of planning for awhile, I came to find that it just wasn’t for me.  It turns out that I do my best thinking and planning when using paper and pencil.

Planbook by Hellman Software

Creating a Teacher Plan Book

If you have chosen to go the paper and pencil route, you may find it useful (and fun!) to create your own teacher plan book.  Here is how I made mine:

First
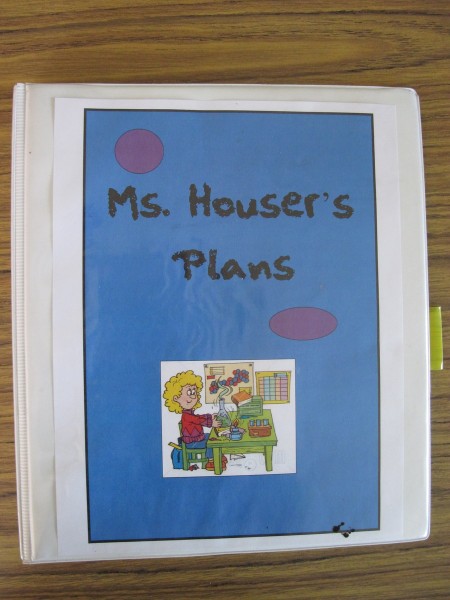
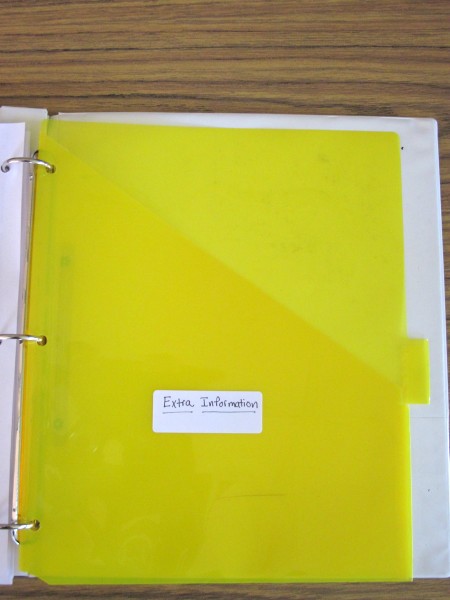
Grab a three ring binder.  You might like to choose one with the plastic covering so that you can create a personalized cover.

Second
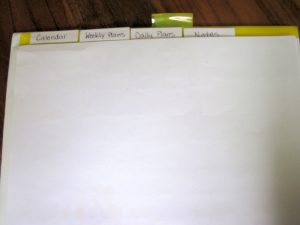
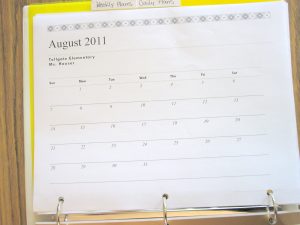
Decide what tabs or sections you would like to include.  I always include a calendar, weekly plans, daily plans, and notes section.  I also liked to have a pocket folder in the back to collect miscellaneous papers so that they don’t end up somewhere else.


Third
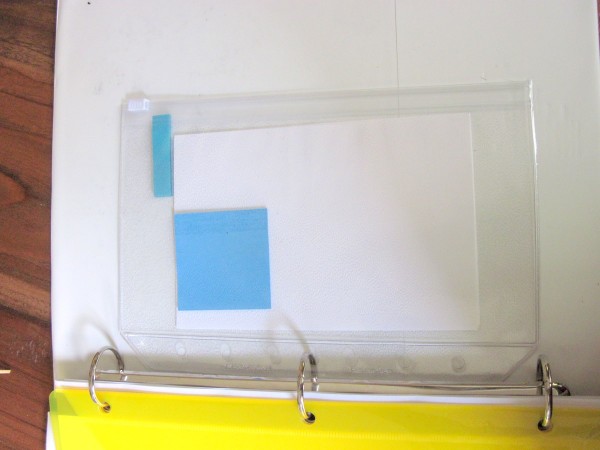
Add a small three ring pencil bag in the back.  This can hold sticky notes, extra pens, or note cards that you can use for planning when you are not near your desk.

Now that you have created a place to organize all of your lesson plans (whether it be online or in your own plan book), you may find that your life feels a bit more complete!  You’ll also have a book (online or off) of thoughtful and organized resources to use for reflection and hopefully even preparation for next year.

Happy Planning!
Kristin

Creating a Beautiful Classroom Space

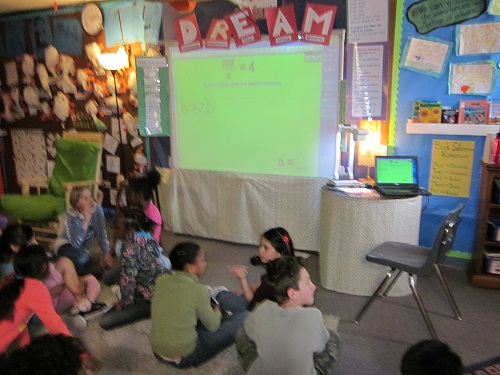
One of the things that I loved, loved to do with the start of each new school year was to plan how I would create a beautiful classroom space.  I spent a great deal of time (okay, maybe obsessed) over how I would arrange my classroom furniture and materials so that they supported the flow of work and learning in my classroom. I got super excited when I envisioned the student work that would cover my walls and the visual resources I would display to support this work. To sum it up, I worked really hard to ensure that my classroom would be a place where both my students and I would enjoy coming to everyday.

My hope is that the pictures and thoughts below will provide you with some ideas or inspiration as you go about setting up your own classroom. You may also find that your thinking about how you use your classroom space evolves during the year and you want to change things up.  If so, you might find it helpful to refer back to this post.  Or, shoot me a note and I can share my thoughts.   And remember…creating a beautiful classroom should be fun! Good luck and let me know how it goes.

Classroom Photos


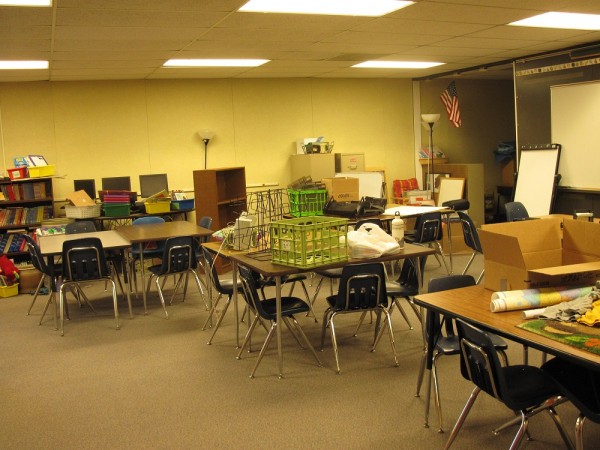
There is nothing more terrifying than walking into your classroom at the beginning of the year and seeing a bunch of unorganized STUFF.  Agghhh!  Where do you even begin?  Well, the best strategy I have come up with is to start with deciding what furniture will go where.  I always prefer to group tables or desks together as this arrangement is more conducive to small group work.

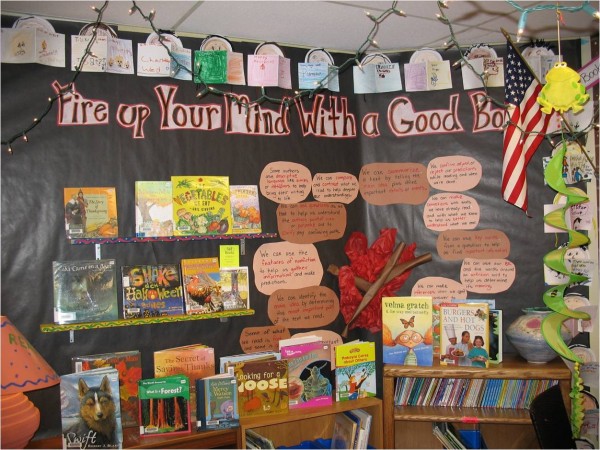
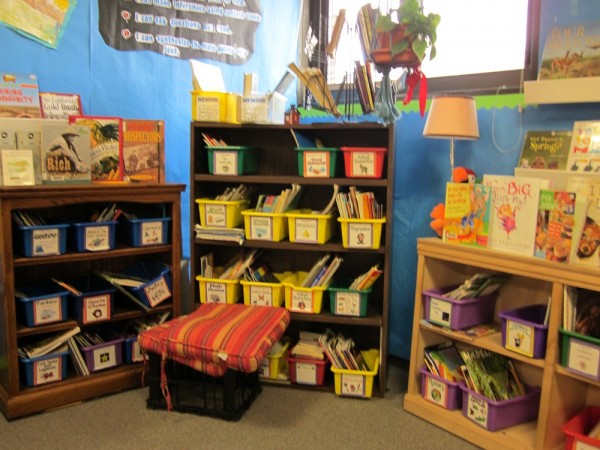
Once I have decided where student desks will go, I am able to think more clearly about the future of what will become the center piece of my classroom…our classroom library.  I prefer to place furniture for the library in a corner area of the classroom as I think it provides an extra bit of coziness.  Putting up a couple of shelves or rain gutters to display books is also a nice touch.


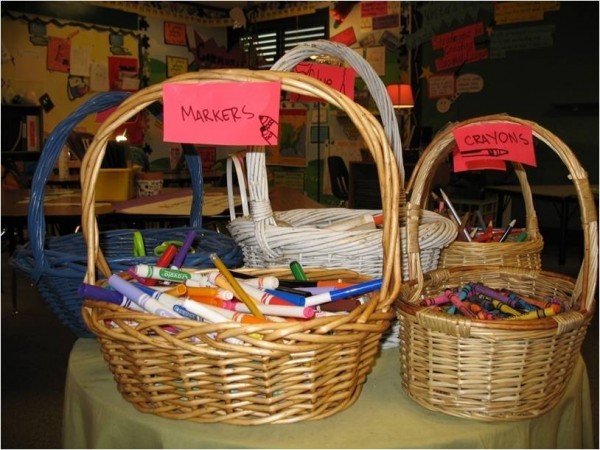
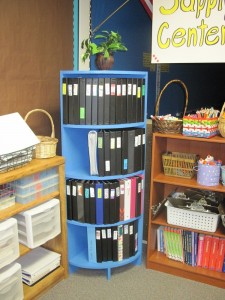
How and where you will house classroom supplies is another important consideration.  I have found that well organized community supplies not only help to keep your classroom a bit more orderly, it is also a great way to build community and collaboration skills within your classroom.  I housed my community supplies either directly in the center of the classroom or in an easily accessible corner.


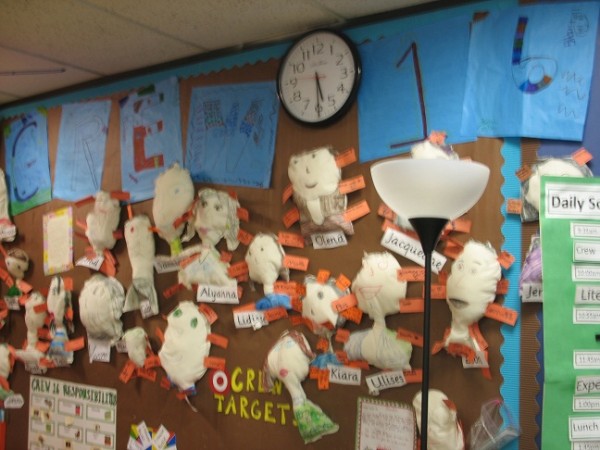
Students worked on these “pillow people” at back to school night. I put them up after families left that night and they were there to welcome students the next morning!

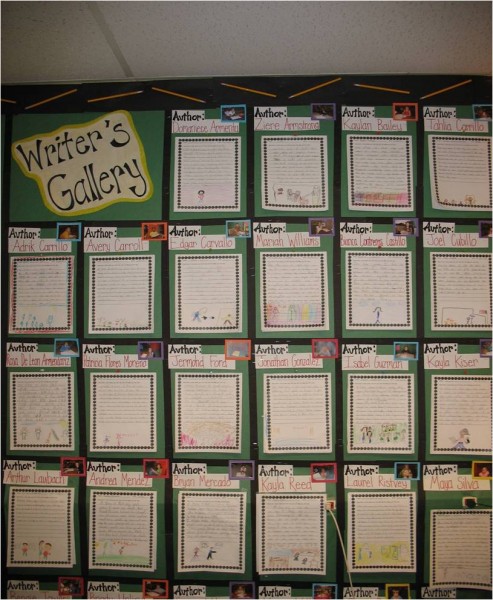
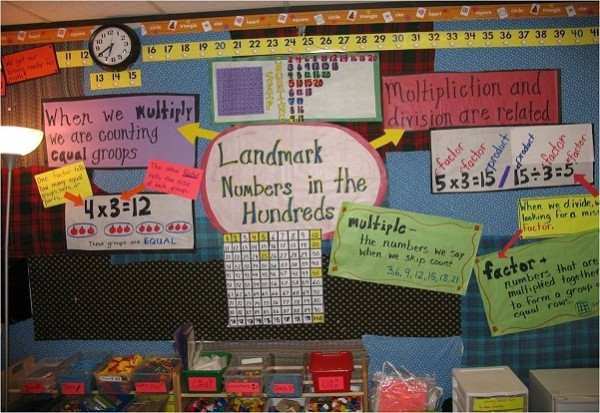
Now I am ready to think about the use of wall space.  I have found that students are more easily able to access resources posted on the walls when information pertaining to different content areas is grouped together.  I also loved to display student writing for others to see.  Displaying quality student work on your walls helps give students ownership of the classroom and it gives them that extra bit of motivation to produce high quality work!

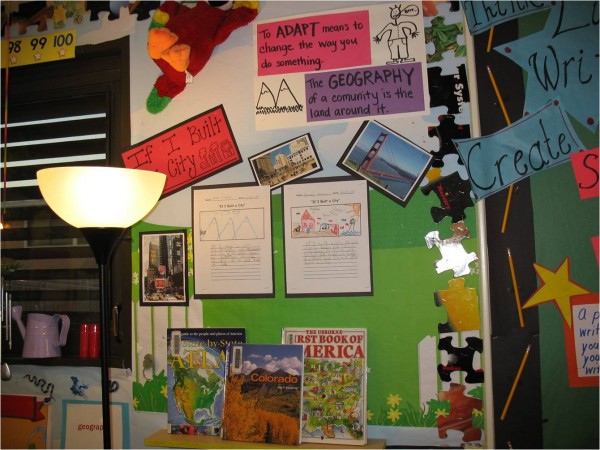
You’re almost there!  Now it is just time for a few finishing touches.  A few strategically placed lamps and rugs help your classroom feel more like home.  I am also a fan of plants, fun fabric, and rocking chairs.

Feel free to share your ideas and success stories!

Best,
Kristin