Manageable Monitoring Part II – Nifty Note Cards!

In my last post I wrote about one of my top two ideas for making monitoring student work and thinking more manageable.  In this post, I will describe my second manageable monitoring system.  I came across this idea while reading, “Making the Most of Small Groups: Differentiation for All” by Debbie Diller.  Being a huge fan of teacher organization tips and tricks, my attention shot straight to Debbie’s section on getting organized.  In this section she shares some of her thinking on using note cards as a monitoring tool.  I put her ideas to action in monitoring my students as readers and I also began using note cards for monitoring in writing and math.

Note Cards in Literacy

What will I need?

  • 3×5 white note cards (this helps me distinguish literacy notes from math notes), one for each student
  • 5-6 pocket dividers (different colors to indicate small groups, see below for clarification)
  • One divider for each student in your classroom (coordinate the color with their small group instruction color, see below for clarification)
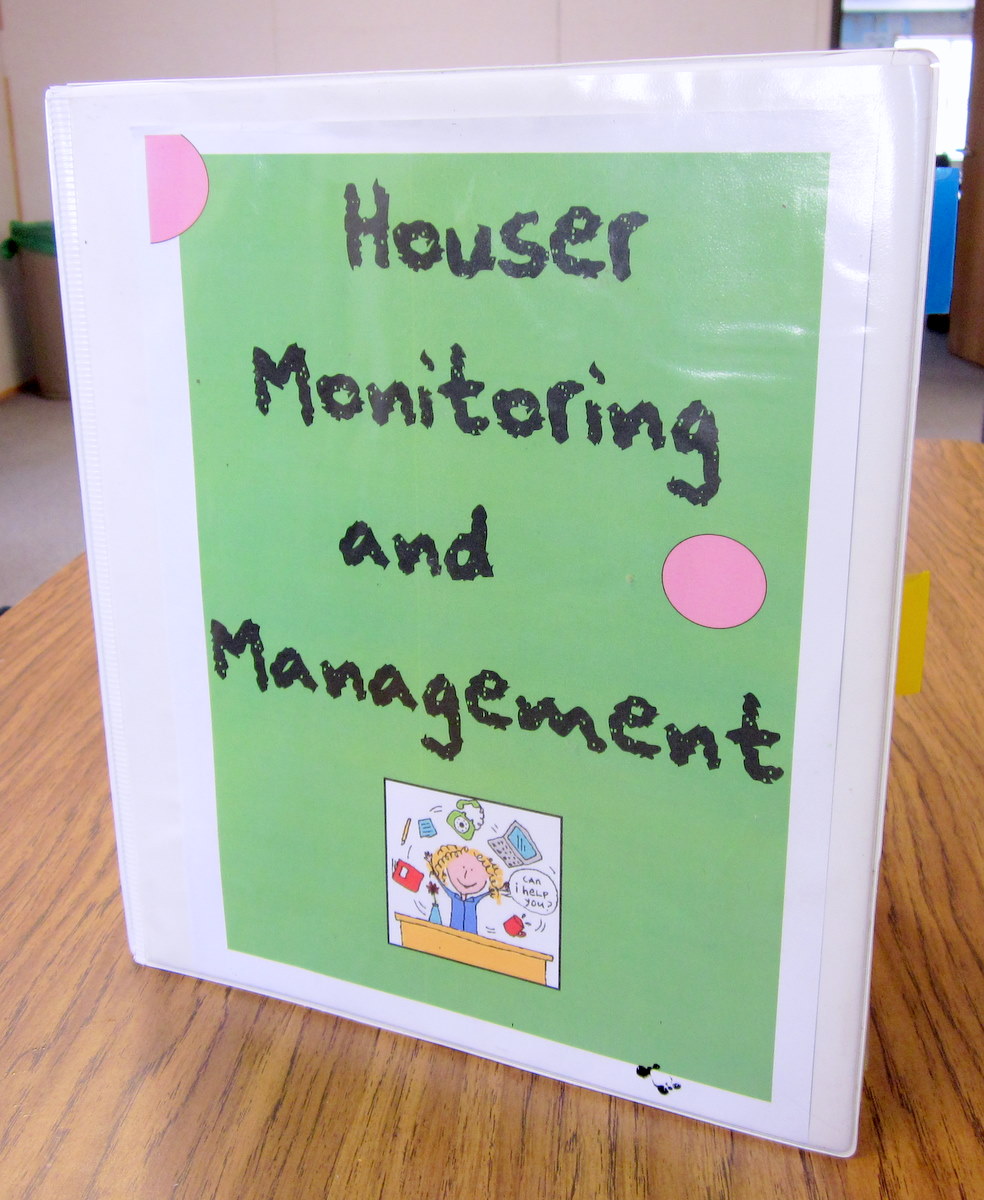
  • One 1.5 inch binder (or larger if you anticipate needing more space)

How do I put it all together?
Before you put your literacy monitoring binder together, you will need to first put your students into flexible small groups for differentiated instruction.  Once you have done this, give each student a color divider and put them behind the same color pocket divider for that group.  You can put a few sheets of notebook paper behind each student’s divider tab to take running records for miscue analysis.

What do I do with the note cards?
Assign one note card to each student.  I use one side for anecdotal reading notes and the other side to jot down notes about their writing.  You can keep these note cards in the pocket of your pocket dividers.  If you decide to switch around your groups, note cards make it easy to do so.

When you meet with your students for reading groups, simply take out the note cards for students in that group and place it in front of each reader so that it is ready for recording observations.  This also makes it easy to see who you have made several observations on and who you haven’t.

Other thoughts
You can store your lesson plans for groups in or behind the pocket divider.  I also like to keep informational sheets with ideas for strategy instruction in the front of my literacy monitoring binder.

If students are involved in an expedition (long term unit of study), you can also keep your learning targets for that expedition in the front of your binder to keep your monitoring on track.

Note Cards in Math

What will I need?

  • 3×5 colored note cards (3 packs to start should get you through a couple of units)
  • Clipboard

How do I put it all together?
It’s super easy.  First, write each student’s name on the bottom of a note card tape (see below).  Next, tape them to the clipboard (start at the bottom of the clipboard and work your way up).  Try to keep them all the same color if you can.  You can use colors to help distinguish the unit you are taking monitoring notes on. I use a sticky note to jot down the look fors of that day’s lesson and put it on the clipboard.  This helps guide my focus.

You can also use these note cards to record observations you make in number talks, independent station work, small groups, or any other area of your math block.

Storing and Using Note Cards

Now that you have been busily using monitoring notes as an informal assessment in your classroom and your note cards are filling up, you want to put them somewhere safe where they’ll be easily accessible for future reference.  All you need is a 4 x 6 inch card file!  Store note cards under students first or last name.  The white note cards for literacy monitoring and colored note cards for math monitoring will help you keep things straight.

When you’re ready to do report cards or are preparing for conferences, just whip out these nifty note cards and you’ll be good to go!


Manageable Monitoring Part I – Portfolio Power!

Last week I had a conversation with a second grade teacher who was wondering about how to setup a manageable monitoring notes system.  This is not the first time that a teacher has come to me to inquire about this and certainly not the first time that I have wondered about it myself!  Before I continue, let’s clarify what exactly monitoring notes are.  From my perspective, I see monitoring notes as a type of informal assessment that helps to document student learning and guide further instruction.  Furthermore they are seemingly simple, yet deceivingly tricky.  I mean, all you need to do is jot something down on a sticky note and stick it on a binder or on your desk for later right?  Well, not really.  That one sticky note or piece of paper can quickly turn into several and before you know it you don’t know which is which or what is where.  Agh!  When this happens, you quickly feel frustrated and wonder what the point of this whole monitoring thing is anyway. Well it definitely has a point.  They not only serve as a documentation and planning tool, monitoring notes also play a key role when completing report cards, having high quality conferences with families, and in building a thorough body of knowledge in tracking student growth.
Each year, I have worked on revising and adjusting my monitoring system to make it more effective.   In this post and the following post I will share my top two manageable monitoring systems.

Portfolio Power!

Around my second year of teaching I began to wonder…”Wouldn’t student portfolios be cool!?  I could use them to house and organize my monitoring notes, other assessments, and even pieces students have selected themselves to show their best work!  Oh, and I could even use them for student lead conferences!”  Well while I had big dreams, putting these portfolios together seemed like too daunting of a task and I just couldn’t deal.  At least not that year.  The following year I figured out how to put it all together.  Check it out!

What will I need?

  • one 1-inch binder for each student (if students didn’t bring them in with their other back-to-school supplies, I found them for $.79 each at WalMart)
  • three dividers, one for each of the main subjects you teach (reading, writing, math) — I especially like the pocket dividers as you can use them to store other assessments
  • three pieces of construction paper, cut to size (matching the colors with the dividers keeps it even more manageable!)
  • mailing labels (I prefer the sheets that have three columns of labels)

How do I put it all together?
Label the dividers and put the corresponding construction paper folder behind them…done!

What do you do with the mailing labels?
The labels are where you will take your monitoring notes.  You will need one sheet of labels for each subject you are monitoring.  Write each student’s name on the labels for each subject (you can even use pen colors that match the construction paper color you’ve designated for each subject).  I then put these label sheets on a clipboard, dividing them with stick on tabs so that they are ready for monitoring.
What are you monitoring for? 
The majority of your monitoring notes should be based on specific look fors tied to learning targets you’ve set for the lesson.  Monitoring in this way helps to focus your attention and guides next steps. Of course, other note worthy observations not connected to the learning target you make while working with students can be recorded too.  As you continue to take notes on students, you can quickly see by looking at your monitoring sheet who you have met with and who you may need to check in with.
As your monitoring notes fill up, place them on the construction paper inside of student binders.  What will result is a growing bank of knowledge about students in each academic area that you can use to track and report progress.

At the end of the day or the week, try to set aside a time to review your monitoring notes and use them to make adjustments to your lessons.   Informed instruction = better instruction!  Take the time to make monitoring student work more manageable for yourself and I’m confident you’ll be happy that you did.

As always, let me know if you have other good ideas!

Kristin

Meaningful Language Development – Draw What You Hear!

A colleague recently asked me for a few ideas to pass on to a fellow teacher for supporting the language development of students in her classroom.  This got me thinking that the ideas I passed on may be worthy of passing on to others.  The teachers in our school work with a high number of second language learners in mainstream classrooms.  This means that content and language are taught through scaffolded instruction provided in English only.  As an Expeditionary Learning school we are able to integrate our content throughout the day in meaningful ways and connect what we teach to real world issues.  This to me is the most important and impactful way of ensuring the success for second language learners.

In addition to this general philosophy of education however, there are many concrete things you can do during your day to further support not only the language growth and development of your second language learners, but of all your students.  Throughout this school year I’ll share different ideas that have worked for me and my second language kiddos.  Let’s get started!

Language and Literature

I love finding creative ways to use books in supporting language development.  One idea I like is called “Draw What You Hear.”  This activity is appropriate for primary aged or beginning level language students and focuses on listening comprehension, a language skill that is often overlooked.  It could easily be adapted for older grades or more advanced language students by choosing a different book or you could write your own text connected to the content you’re studying or an interesting topic!  This one if especially fun during Halloween.

Text:  “Go Away Big Green Monster” by Ed Emberley


Materials:  Blank white paper and markers or crayons

Lesson Overview:
Start by previewing vocabulary in the text that may be new language for students.  Try keeping this strategy in mind for all texts you read with students.

Make it very clear to students that their job is to listen carefully to the descriptive language being used in the story so that they will be successful in making their Big Green Monster.  Now you are ready to read the story out loud to students, but don’t show them the pictures!  As you read each page, they will use the language they hear and comprehend to create their monster.  Yes, it is perfectly acceptable (and should be encouraged!) for students to clarify understanding along the way by asking questions.  This is an important skill we want them to develop.  Below is the sequence of pictures you may see a student create.


When you are done with the story, you can read students the book and have fun in discovering how close their picture came to matching the one in the book!

I would love to hear any variations you may have thought of for this lesson or other creative ways you have used literature to support listening comprehension.  Also, if you have requests for other topics related to working with second language learners that you would like me to write about please let me know.

Best,
Kristin