Planning for Guided Reading
Instructional Coaching, Organization, Teaching TipsI’ve been teaching literacy in a 4th grade class this first quarter and having a blast! For an hour and a half each morning, I hop over to Susie’s room while she supports another teacher in math. After fall break, I’ll be going back to full day coaching, but I’m so glad I was able to dip my toes back into the teaching waters. It helped me reconnect to the work I’m coaching teachers on and rebuild my street cred.
Anyhow, part of that 90 minutes involved supporting a few groups of kids with differentiated literacy instruction using the structure of guided reading. Because you may be thinking about adjusting or freshening up your guided reading system {or supporting coachees with this} for the second quarter, I thought I’d share a few tips and resources for how I plan for guided reading.
1. Organize Your Data
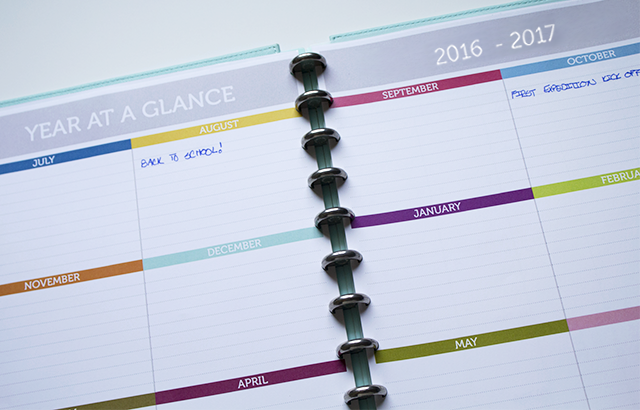
You’ll be grouping students primarily by their reading level and you’ll want a way to track their growth throughout the year and adjust your instruction accordingly. Beth Newingham is one of my hero teachers who I’ve been following and learning from for a long time. This is a tool she offers teachers on her website that I’ve always used and love.
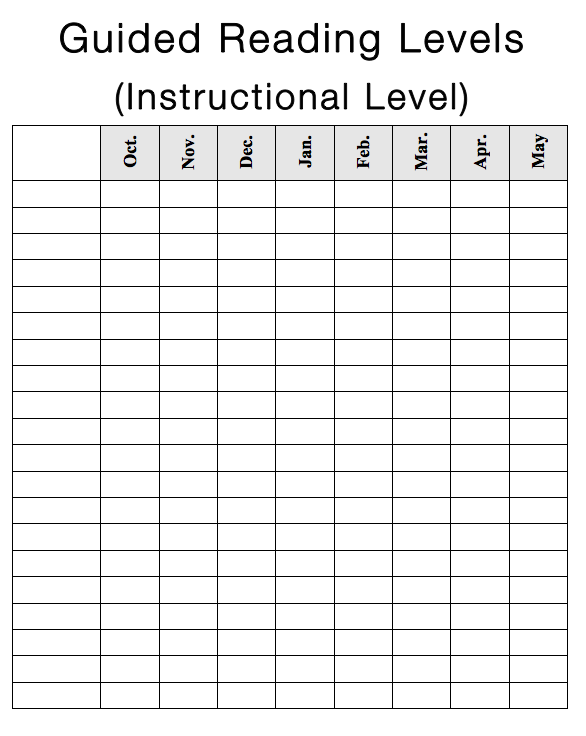
Click Here to Download
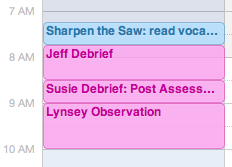
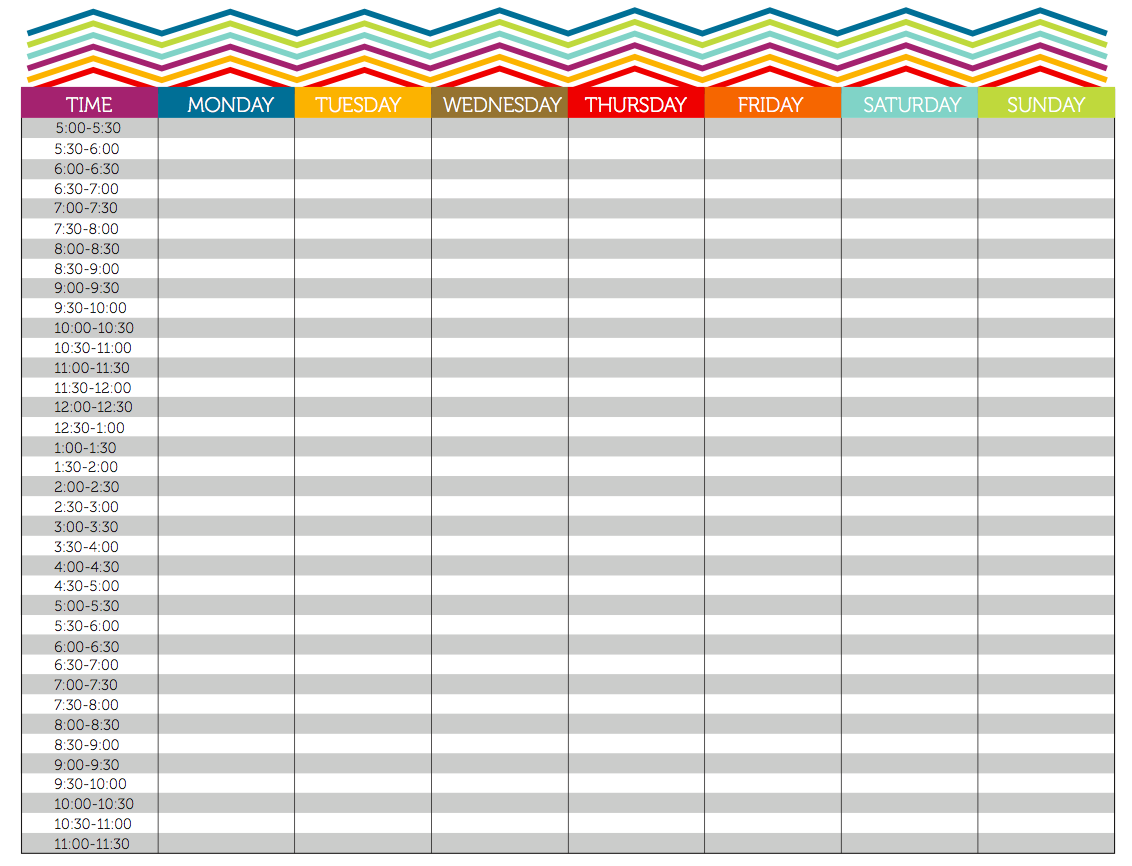
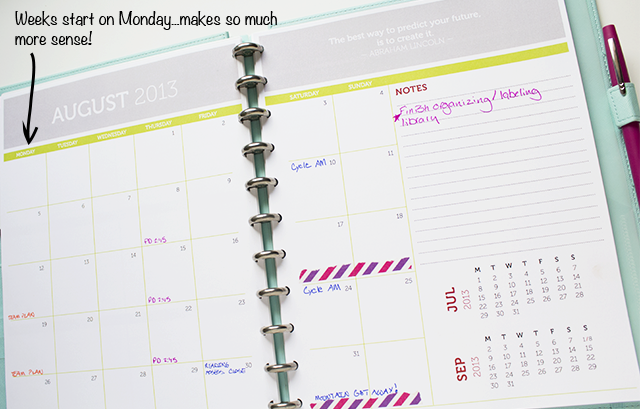
2. Form Your Groups and Schedule
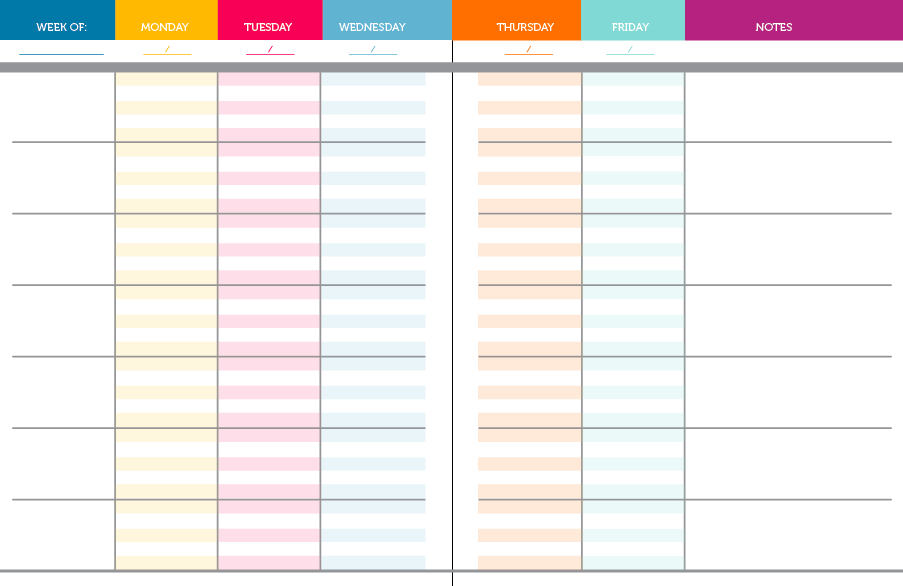
I’ve found I’m most successful and efficient with my instructional time when I have up to five reading groups, although six is doable. Above that though is really pushing it. I like to use a planning template such as the one below to help me plan when and how often I’ll meet with each group.
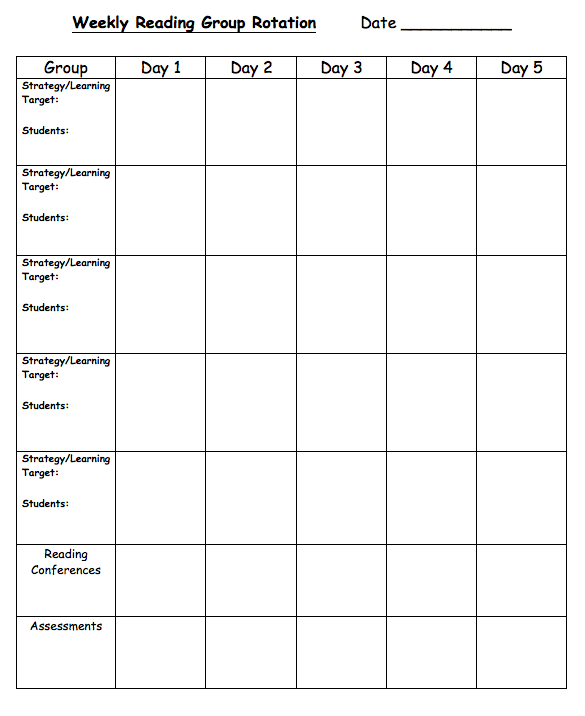
Click Here to Download
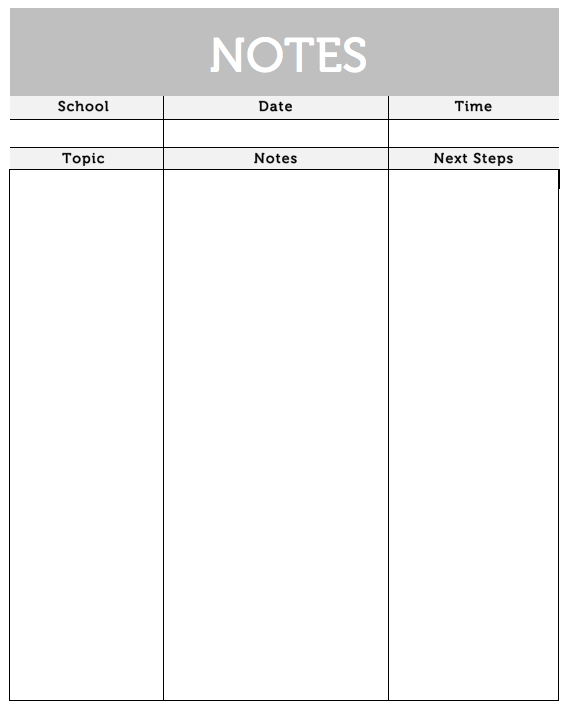
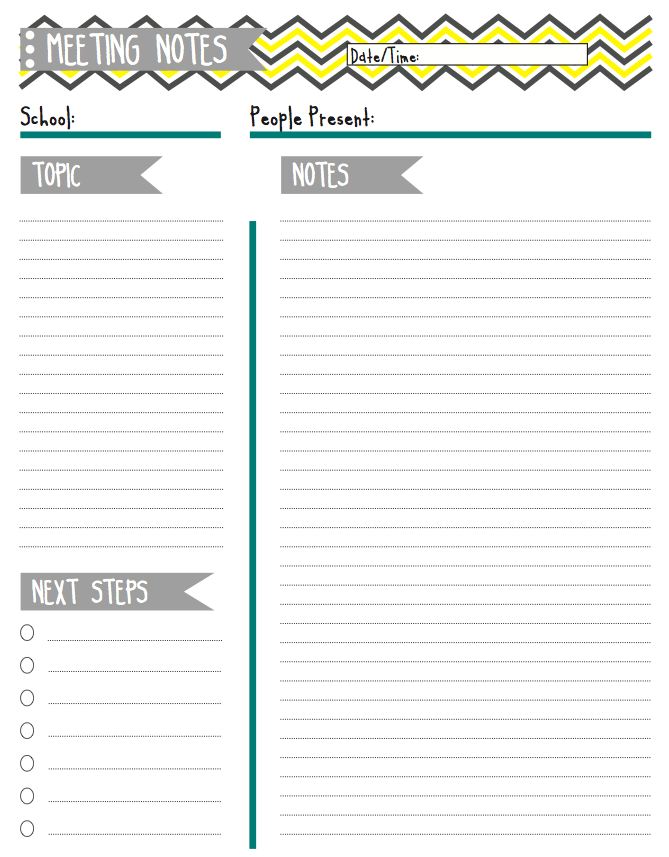
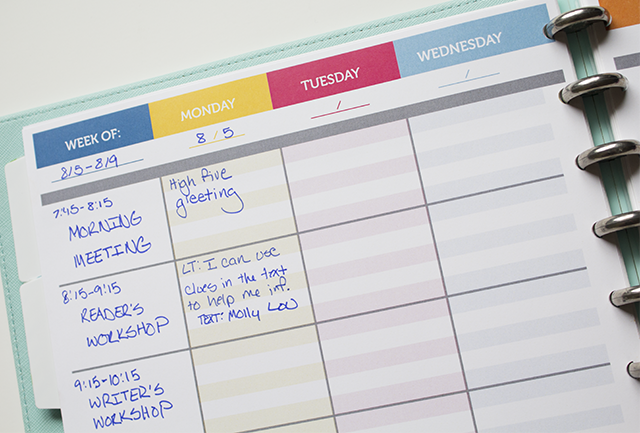
3. Create a Planning Template {or use mine!}
Planning templates are a bit like good checklists in that they help you attend to all the important components of a lesson without having to drain any mental energy remembering what they are. Which in turn improves your planning efficiency! This is the one I most commonly use, although here is a link to another one made specifically for working with Transitional readers if you’d like to check it out too.
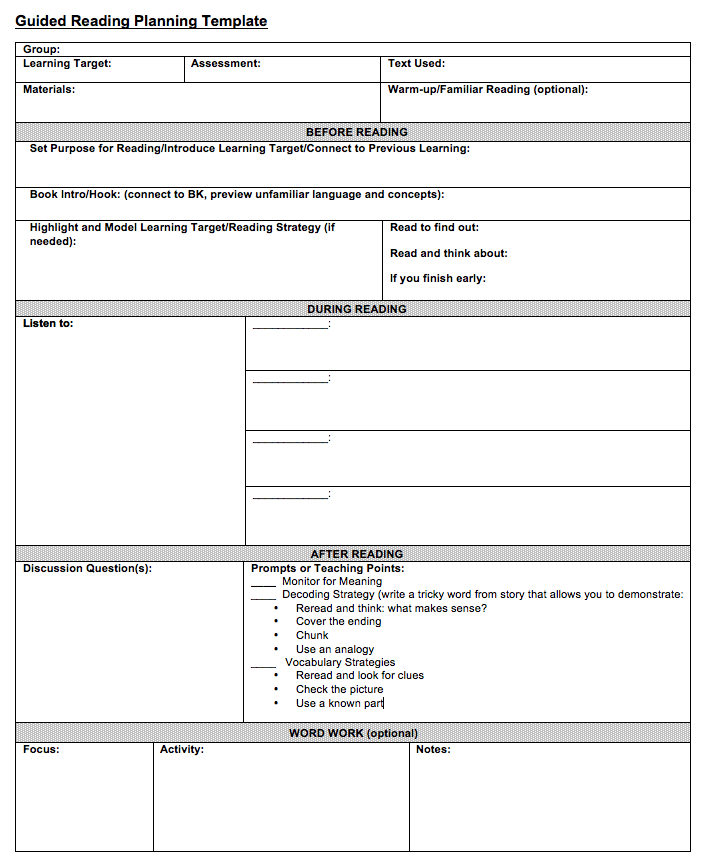
Click Here to Download
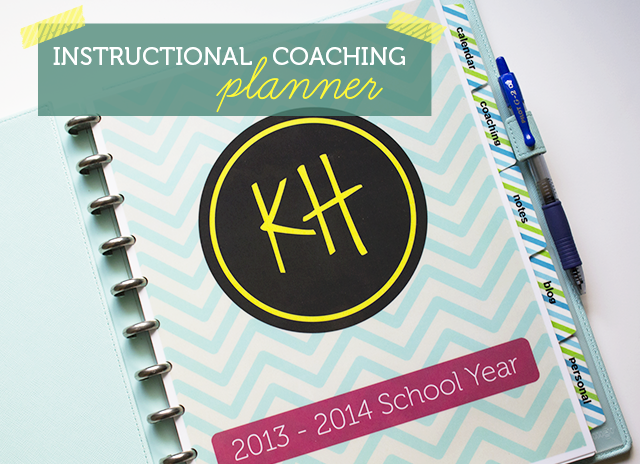
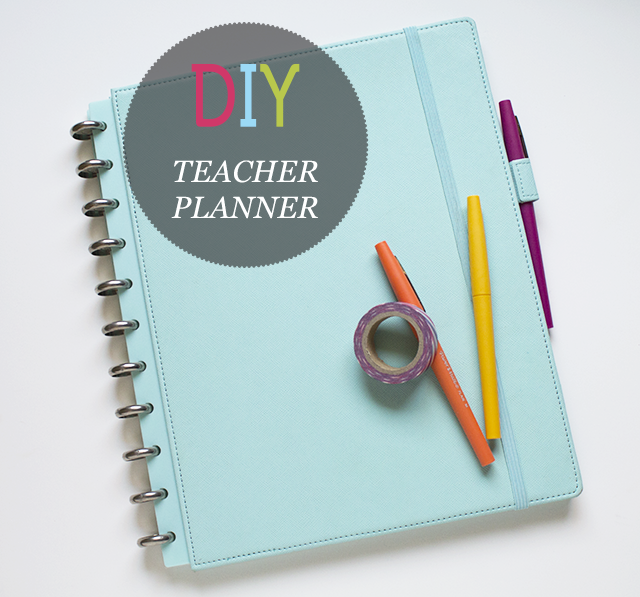
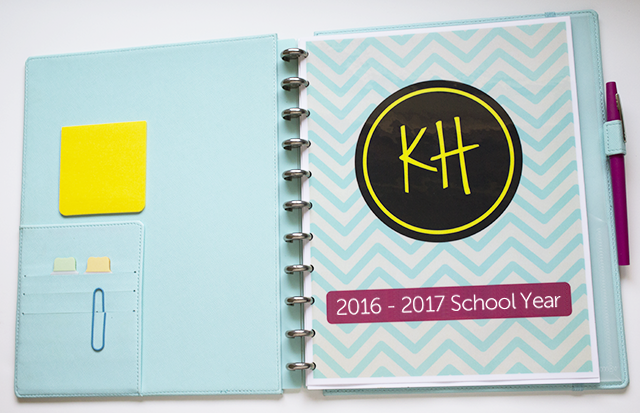
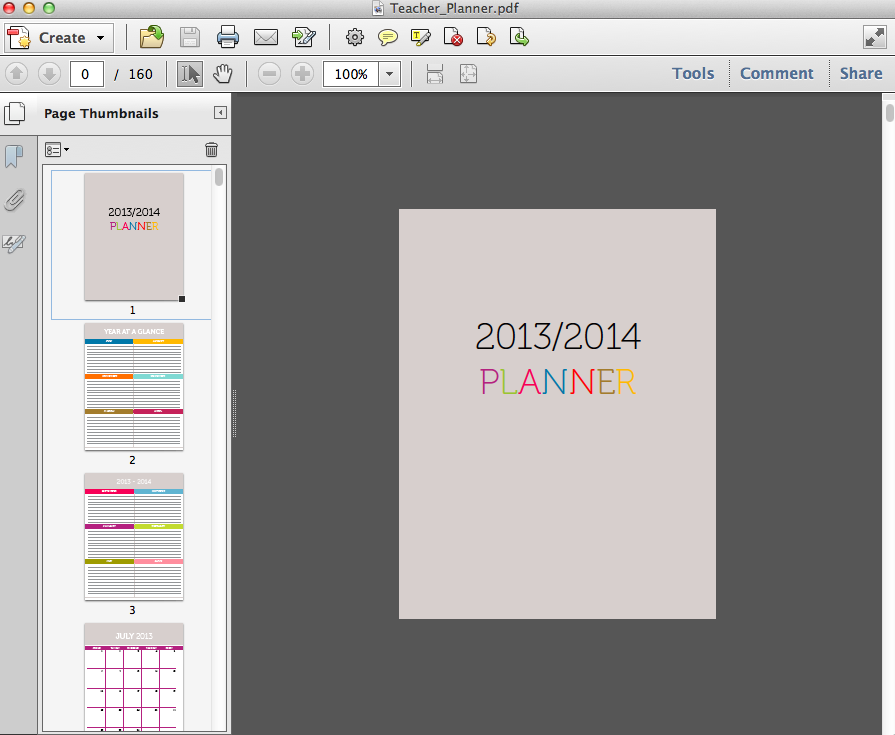
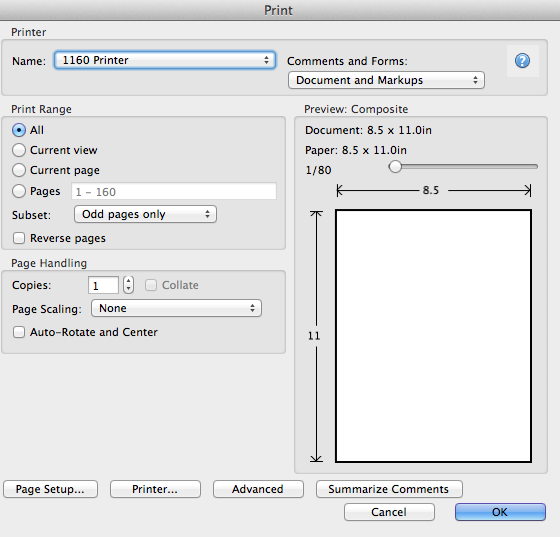
4. Grab a Binder
Now that you have your progress tracking sheet, weekly schedule sheet, and planning template it’s time to pop it all into a handy binder. With a nice cover of course, which I’ve included as a free download for you here.
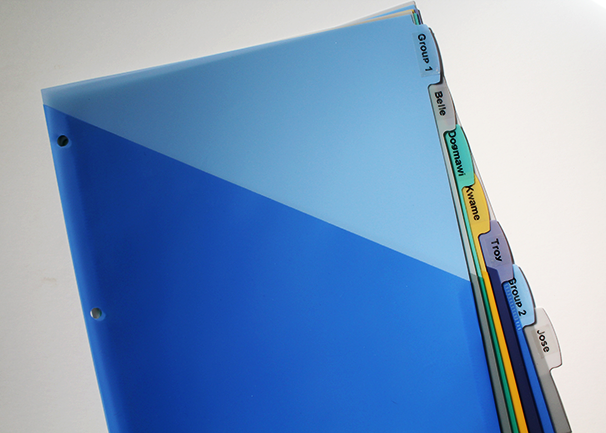
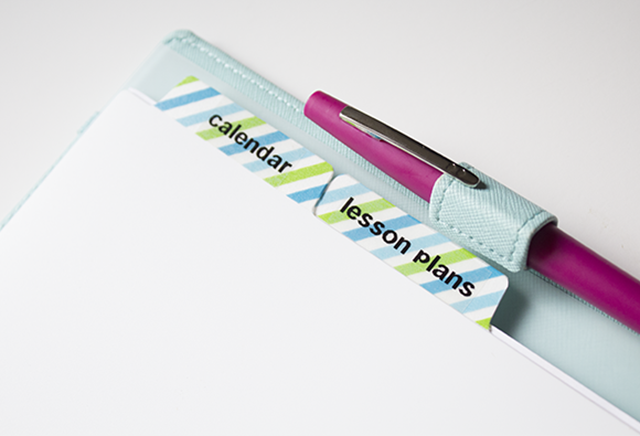
Dividers with pockets work well for keeping everything organized. You can label your dividers by group or by student.
5. Select Your Books
I like to have all of my guided reading texts for the week selected the week before and placed in a bin so they’re ready to go.
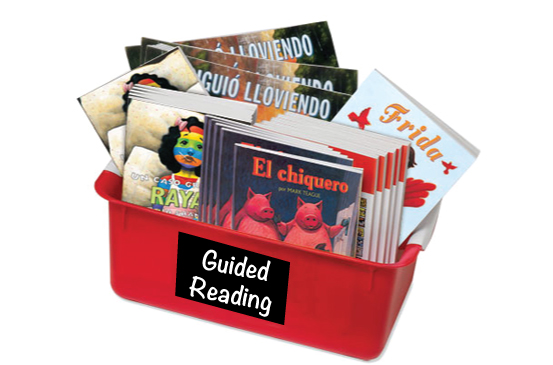
{image via Scholastic}
And finally…
Let’s get to teaching!


 , or the
  is a slightly less expensive option yet just as good.
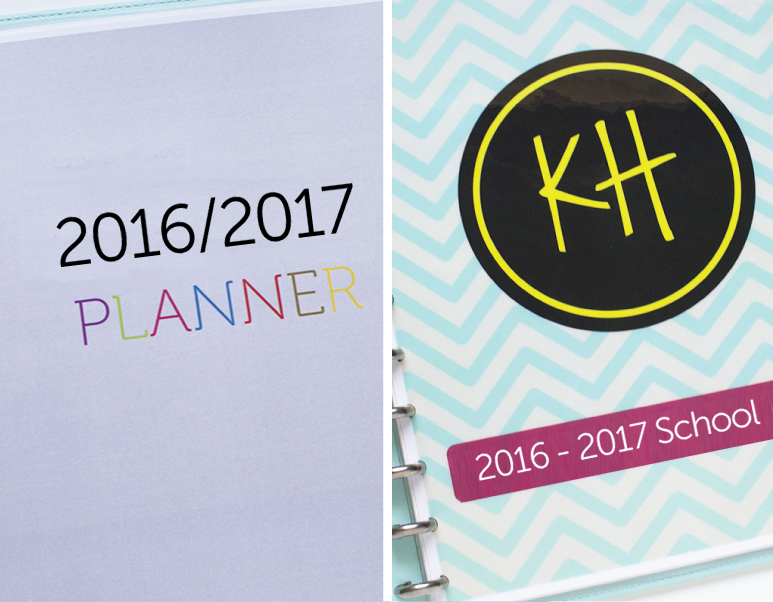
